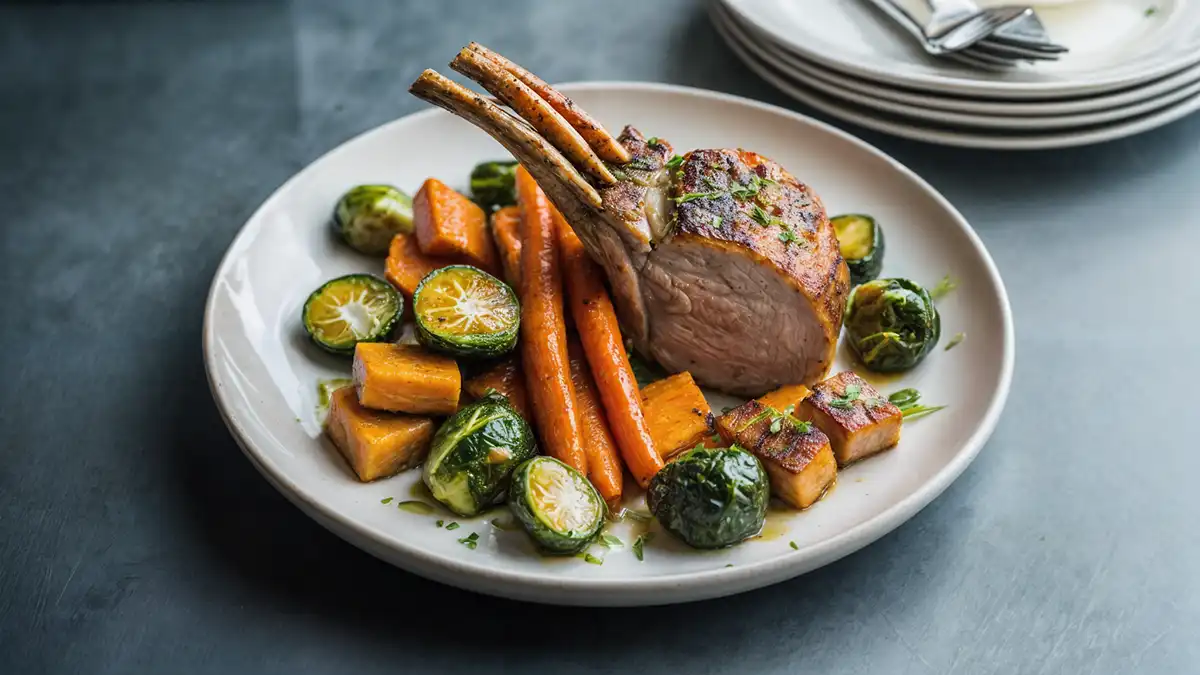
There’s nothing quite like a perfectly roasted rack of pork to turn an ordinary meal into a feast. Often overshadowed by its beefy counterpart, this pork dish offers a stunning combination of flavor, tenderness, and visual appeal that makes it worthy of any celebration. Whether you’re hosting a holiday dinner or simply want to spice up a weekend family meal, mastering the rack of pork recipe can elevate your cooking game and impress your guests.
Table of Contents
| Section | Content |
|---|---|
| Introduction | An overview of what a rack of pork is, why it’s a great choice for roasting, and suitable occasions for its grandeur. |
| Essential Ingredients and Tools | Lists of necessary ingredients and kitchen tools, including tips on selecting quality pork and preparing the marinade. |
| Preparing the Rack of Pork | Step-by-step instructions on how to clean, score, and marinate the pork before cooking. |
| Cooking Techniques Explained | Detailed methods for roasting the pork, including temperatures and timings for perfect doneness. |
| Serving and Presentation | Tips on carving, plating, and garnishing the rack of pork to enhance its visual appeal and taste. |
| FAQs | Answers to common questions about preparing and cooking a rack of pork, with practical solutions to potential problems. |
What Exactly is a Rack of Pork?
The rack of pork is essentially the pork version of a rib roast, which might be more familiar to many as a prime rib in the beef world. This cut includes a section of the loin cut from the rib area with a row of ribs attached. It’s known for its succulent fat layer and tender meat, making it ideal for roasting.
Why Choose a Rack of Pork?
Opting for a rack of pork not only promises a delicious meal but also offers a show-stopping centerpiece for your dining table. Its impressive size and elegant bone structure allow for dramatic presentations that can rival any high-end restaurant offering.
Choosing the Right Occasion
A rack of pork isn’t just for any dinner—it’s best saved for the special ones. Perfect for celebrations like Christmas, Easter, or even a significant family milestone, this dish brings more than just flavor to the table; it brings an occasion itself.
Comparison Table: Rack of Pork vs. Other Pork Cuts
To better understand the unique qualities of a rack of pork, here’s a quick comparison with other popular pork cuts:
| Pork Cut | Flavor Profile | Cooking Time | Ideal Recipes |
|---|---|---|---|
| Rack of Pork | Rich and succulent | 1.5 – 2.5 hours | Roasting, herb-crusted |
| Pork Tenderloin | Mild and tender | 20 – 30 minutes | Quick roasting, slicing |
| Pork Belly | Intensely flavorful | 2 – 4 hours | Slow roasting, braising |
| Pork Shoulder | Robust and fatty | 4 – 8 hours | Pulled pork, slow cooking |
As you can see, the rack of pork is notable for its quick cooking time and intense flavor, making it ideal for special occasions when you want a gourmet meal without spending all day in the kitchen. Stay tuned to learn about marinating, cooking techniques, and more to make your rack of pork unforgettable.
Essential Ingredients and Tools for the Perfect Rack of Pork Recipe
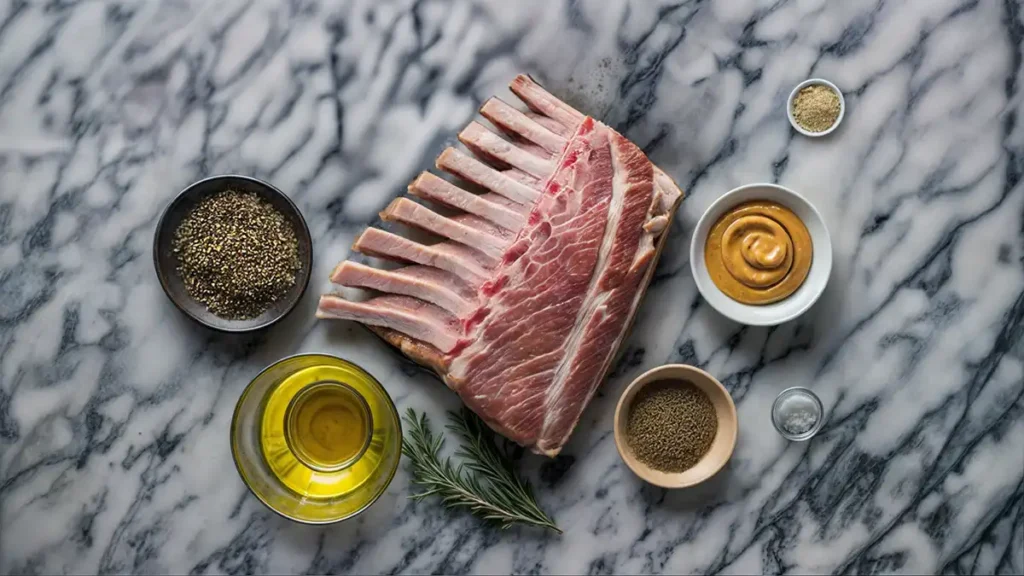
Creating a spectacular rack of pork involves more than just the right recipe; it’s about using the best ingredients and tools to bring that recipe to life. Here’s what you’ll need to ensure your pork is flavorful and perfectly cooked.
Key Ingredients for a Flavorful Rack of Pork Recipe
The Meat: Choosing Your Pork
- Opt for a fresh, high-quality rack of pork, ideally from a trusted local butcher. Look for a cut with a good amount of marbling and a creamy layer of fat for the best flavor and juiciness.
Marinades and Rubs
- A great rack of pork starts with a great rub or marinade. Basic ingredients include:
- Salt and pepper: The foundation of any good pork rub.
- Herbs and spices: Rosemary, thyme, and garlic powder are classics that enhance the pork’s natural flavors.
- Mustards and oils: Dijon mustard and olive oil can create a paste that holds your herbs onto the meat, adding depth and richness.
For an adventurous twist, why not try incorporating a unique sauce into your meal? Consider pairing your roasted pork with a vibrant Raspberry Chipotle Sauce for a touch of sweet heat that complements the meat’s richness.
Essential Cooking Tools
Roasting Pan and Rack
- A sturdy roasting pan with a rack is essential to ensure even cooking. The rack elevates the pork, allowing heat to circulate around the meat, which helps to cook it evenly and keeps it from stewing in its own juices.
Meat Thermometer
- An accurate meat thermometer is crucial for cooking your rack of pork to perfection. Pork should be cooked to an internal temperature of 145°F for the perfect balance of juiciness and safety.
Carving Set
- A sharp carving knife and fork will make serving your rack of pork a breeze, especially when it comes to slicing between the rib bones cleanly.
Aluminum Foil
- Essential for tenting your pork as it rests. Resting the meat allows the juices to redistribute, ensuring that every slice is as juicy as can be.
Optional but Helpful Extras
Basting Brush
- Useful for applying glazes or basting the pork with its own juices during cooking to keep it moist.
Spice Grinder
- For those who prefer to use whole spices, a grinder is handy for creating the freshest, most flavorful spice rubs.
This toolkit, along with high-quality ingredients, sets you up for a successful culinary adventure, ensuring your rack of pork is delightful to prepare and eat. With the right tools and ingredients, you’re on your way to creating a meal that satisfies and visually impresses.
Preparing Your Rack of Pork Recipe: From Fridge to Oven
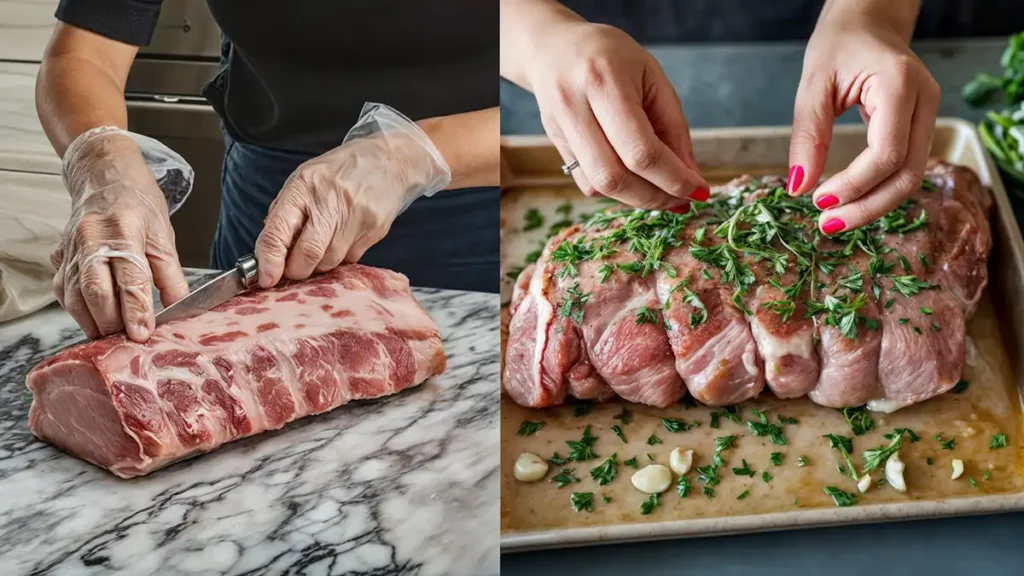
Getting your rack of pork ready for the oven involves more than just preheating. Proper preparation is key to ensuring that the flavors are deep and the meat is tender. Follow these steps to prep your pork like a pro.
Cleaning and Scoring the Pork
Initial Prep
- Start by removing your rack of pork from the packaging and giving it a good rinse under cold water. Pat it dry with paper towels to ensure the seasonings stick properly.
- Scoring the fat: Using a sharp knife, make shallow cuts across the fat cap in a criss-cross pattern. This not only helps the fat render but also allows the seasonings to penetrate deeper.
Marinating: The Flavor Base
Creating a flavorful marinade or rub is crucial for a delicious rack of pork. Here’s how you can do it:
- Mix your seasonings: Combine olive oil, Dijon mustard, minced garlic, chopped rosemary, thyme, and a bit of salt and pepper in a bowl. You want to create a paste that will stick to the pork and infuse it with flavors.
- Apply the marinade: Rub this mixture all over the pork, ensuring it gets into all the cuts and crevices. For an extra layer of flavor, consider incorporating a sauce like Boursin Cheese Pasta, which can add a creamy, herby touch to your dish as a side.
Bringing the Pork to Room Temperature
- Why it’s important: Before you cook the pork, let it sit out on the counter for about 30 minutes to an hour to come to room temperature. This step is crucial for cooking the meat evenly, ensuring you don’t end up with a roasted exterior and a cold interior.
Frenching the Bones
- What is Frenching?: Frenching is the process of cleaning the meat off the tips of the ribs to give your pork rack a more refined look.
- How to French: If your butcher hasn’t already done this for you, you can do it at home by scraping the meat away from the ends of the ribs with a knife. It’s a bit of work, but it pays off in the presentation!
These steps will prepare a perfectly cooked rack of pork that’s as pleasing to the eye as it is to the palate. Now, with your pork prepped and ready, it will transform into a tender, flavorful roast in the oven.
Tutorial Video How To Make Rack of Pork Recipe
For a visual step-by-step guide on preparing and cooking a rack of pork, check out this helpful tutorial:
This video will guide you through handling, seasoning, and roasting your pork to perfection, ensuring optimal results.
Mastering the Cooking Techniques for a Perfect Rack of Pork Recipe
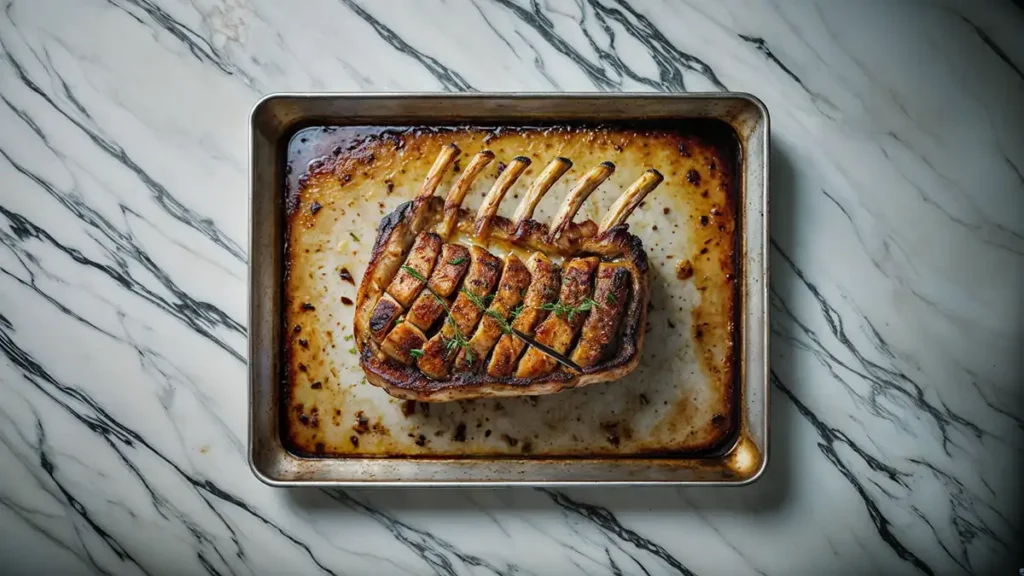
Once your rack of pork is prepped, the magic happens in the oven. The right cooking techniques are key to a tender, juicy, flavor-packed roast that will have guests asking for seconds. Let’s dive into how to roast your pork to perfection.
Roasting the Rack of Pork
High Heat for a Crispy Start
- Initial Blast: Start by preheating your oven to a high temperature, usually around 450°F (232°C). This initial high heat helps to sear the outside of the pork, locking in the juices and giving the fat a chance to start rendering.
- Roast on High: Place your pork in the preheated oven and let it roast for about 15-20 minutes. This will help develop a beautifully crisp exterior.
Lower and Slow
- Reduce the Heat: After the initial high heat blast, reduce the oven temperature to around 325°F (163°C). This lower temperature will cook the pork through more gently, ensuring it stays moist and tender.
- Cooking Time: Continue roasting at this lower temperature. The general rule of thumb is about 20 minutes per pound, but always use a meat thermometer to check. You’re aiming for an internal temperature of 145°F (63°C) for the perfect doneness.
Creating a Flavorful Crust
Herbs and Breadcrumbs
- Mix It Up: Combine finely chopped herbs like rosemary, thyme, and parsley with breadcrumbs. This mixture can be patted onto the outside of the pork after the initial high heat roasting phase.
- Mustard as a Binder: Brushing a light layer of mustard over the pork before applying your herb and breadcrumb mix helps it adhere better and adds an extra layer of flavor.
Making the Most of Pan Drippings
Creating a Simple Pan Sauce
- Deglaze the Pan: After removing the pork from the roasting pan, place the pan over a stove burner on medium heat. Add a bit of chicken stock or wine to deglaze, scraping up the flavorful browned bits from the bottom of the pan.
- Simmer and Strain: Let the mixture simmer to reduce slightly, then strain it for a smooth, rich sauce that’s perfect for drizzling over the sliced pork.
For detailed safety guidelines on cooking pork, refer to the guidelines on pork safety from Foodsafety.
Recommended Side Dishes
To complement the rich flavors of your rack of pork, consider serving it with sides that can stand up to its heartiness without overpowering it. For a perfect pairing, check out this robust Crab Brûlée Recipe, offering a sweet and savory balance that enhances the pork’s natural flavors.
Serving and Presenting Your Rack of Pork Recipe
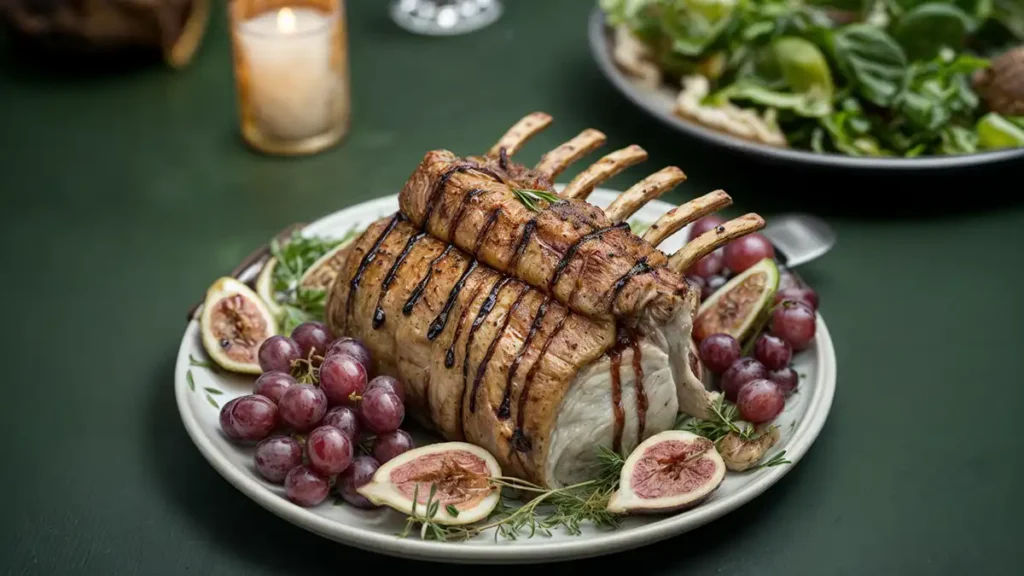
After perfectly roasting your rack of pork, focus on the presentation and serving. A beautifully presented rack not only tantalizes the taste buds but also catches the eye, making your meal memorable.
Plating Your Rack of Pork Recipe
Let It Rest
- Importance of Resting: Before you slice into your beautifully roasted pork, let it rest covered with aluminum foil for about 15-20 minutes. This allows the juices to redistribute throughout the meat, ensuring that each slice is juicy and flavorful.
Carving the Rack
- Slicing Tips: Use a sharp carving knife to slice between the rib bones. Aim for even, clean cuts to make each serving look as good as it tastes.
Enhancing Plate Appeal
Garnishing for Impact
- Add simple garnishes that complement the flavor of the pork without overwhelming it. Fresh herbs, like rosemary or thyme, not only add a pop of color but also hint at the flavors used in the marinade.
Sauce Artistry
- Drizzle your homemade pan sauce artistically around the plate or lightly over the slices of pork. This not only adds flavor but also enhances the visual appeal of the dish.
Side Dishes That Complement
Choosing the right side dishes can elevate your rack of pork from a simple meal to a feast. Opt for sides that balance the richness of the pork, such as roasted vegetables or a light salad.
For a truly unique side that complements the robust flavors of pork, consider serving a Purple Sweet Potato Recipe. These vibrant tubers add a splash of color and a nutritional boost to your meal, making it as healthy as it is delicious.
Serving Suggestions
- Family Style: Serve the rack of pork on a large platter surrounded by side dishes. This encourages a communal, family-style dining experience where everyone can help themselves.
- Individual Plating: For more formal occasions, pre-plate each serving with a portion of pork, a drizzle of sauce, and a helping of each side dish. This presentation style ensures that each plate is a complete and beautiful composition.
The final presentation of your rack of pork can turn a great meal into an unforgettable dining experience. Enjoy the fruits of your culinary efforts and watch as your guests delight in every aspect of the meal.
FAQs About Rack of Pork Recipe
Is it best to cook pork on a rack?
Absolutely! Cooking pork on a rack allows the heat to circulate evenly around the meat, ensuring it cooks evenly without stewing in its own juices. This method helps to achieve a beautifully roasted exterior while keeping the inside juicy and tender.
What cut is a rack of pork?
A rack of pork is a prime cut that comes from the rib area of the loin. This cut includes several ribs and is known for its flavorful, tender meat, making it a top choice for roasting.
What temperature should a rack of pork be cooked at?
The ideal cooking temperature for a rack of pork can vary depending on the desired crust and tenderness. Start by roasting at a high temperature (around 450°F) for the initial sear, then lower to about 325°F to finish cooking. Always ensure the internal temperature reaches at least 145°F for safe consumption.
How long to smoke a rack of pork?
Smoking a rack of pork is a great way to infuse it with a deep, smoky flavor. Typically, smoking this cut at a lower temperature (around 225°F to 250°F) can take anywhere from 1.5 to 2 hours. However, the key is to monitor the internal temperature, aiming for that perfect 145°F finish.
Conclusion
Here you go! Armed with these insights and tips, you’re ready to create a mouth-watering rack of pork that will impress any guest. Remember, whether roasting, smoking, or experimenting with marinades, the key to perfect pork lies in patience and attention to detail.
I hope this guide has been helpful and sparks some culinary inspiration for your next meal. If you have any more questions, or if you try out any of these techniques, don’t hesitate to drop a comment below! Thanks for reading, and happy cooking!

